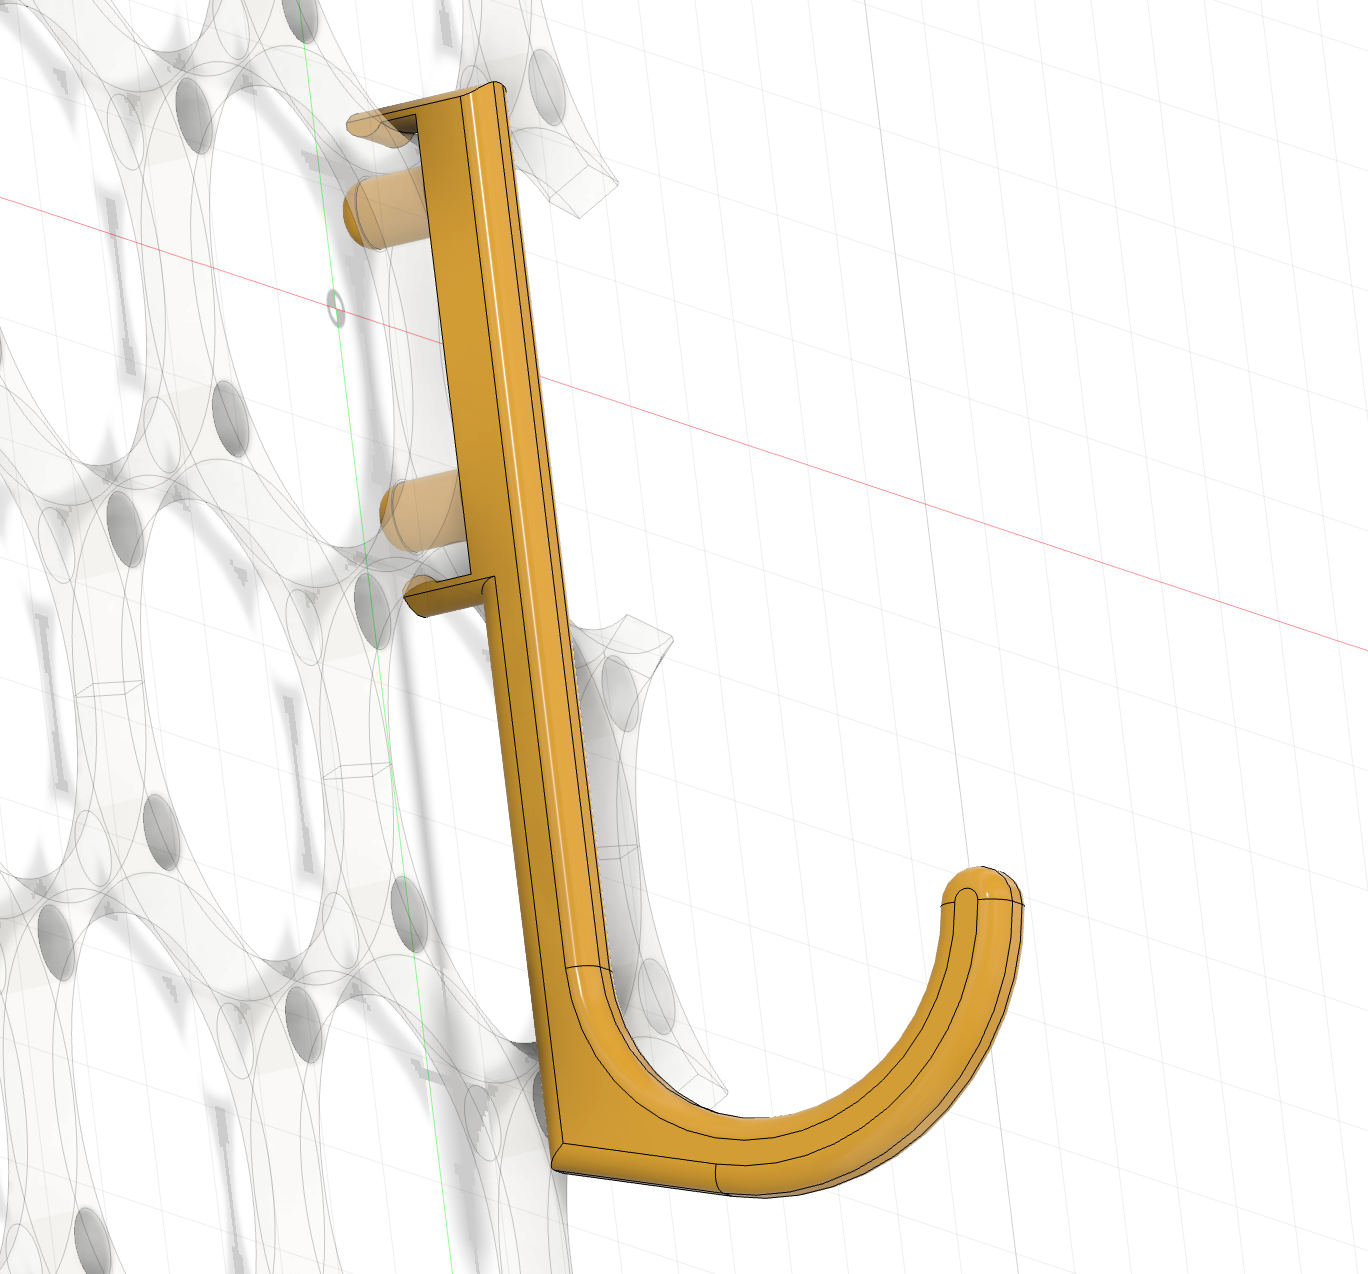
Attaching on the wall
Note: The correct orientation of the board in such way the that there are vertical rows of 6mm hole-pairs.
There are a couple of ways installing the board segments on a wall.
a) The simplest method is simply by screwing them directly to the wall thru the small 6mm holes. This is the strongest setup and least likely to have the board flex under heavier loads.
b) Board segments can also be attached 6mm off the wall to protect the wall from wear, preventing debris/dust getting piled up between the board and the wall, and to allow thin cables to be passed in the cavity. This setup does however allow the board to flex more under heavier loads.
Board segments are connected together using a “star” connector piece, which goes behind the board and acts as a 6mm wall spacer/saver. Drive a screw thru the board segment and the star connector into the wall framing.
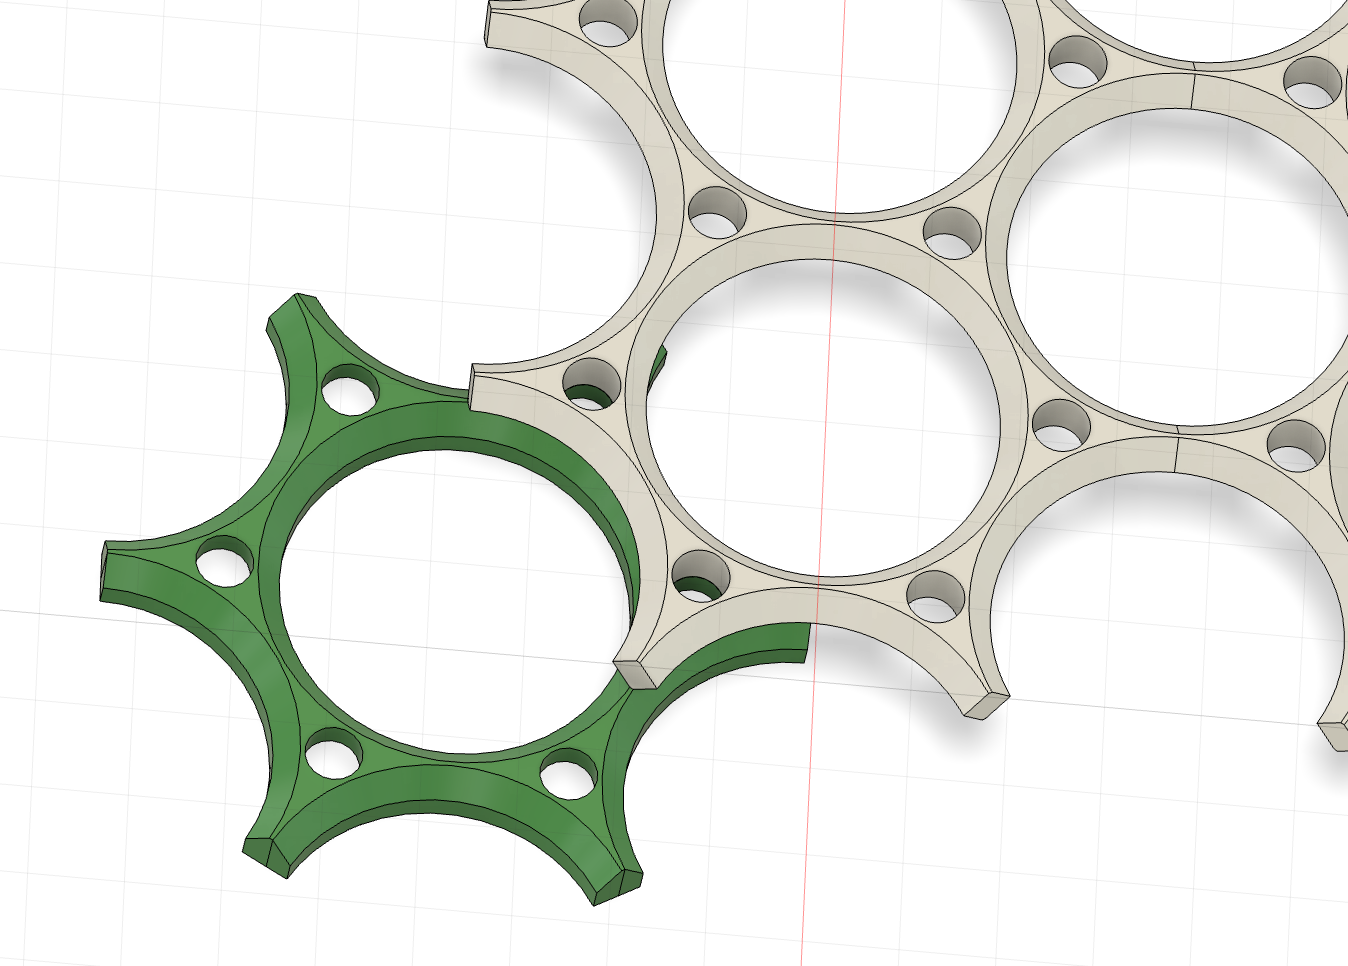
c) …or why not try a half-step offset double grid setup for a neat 3d wall effect:
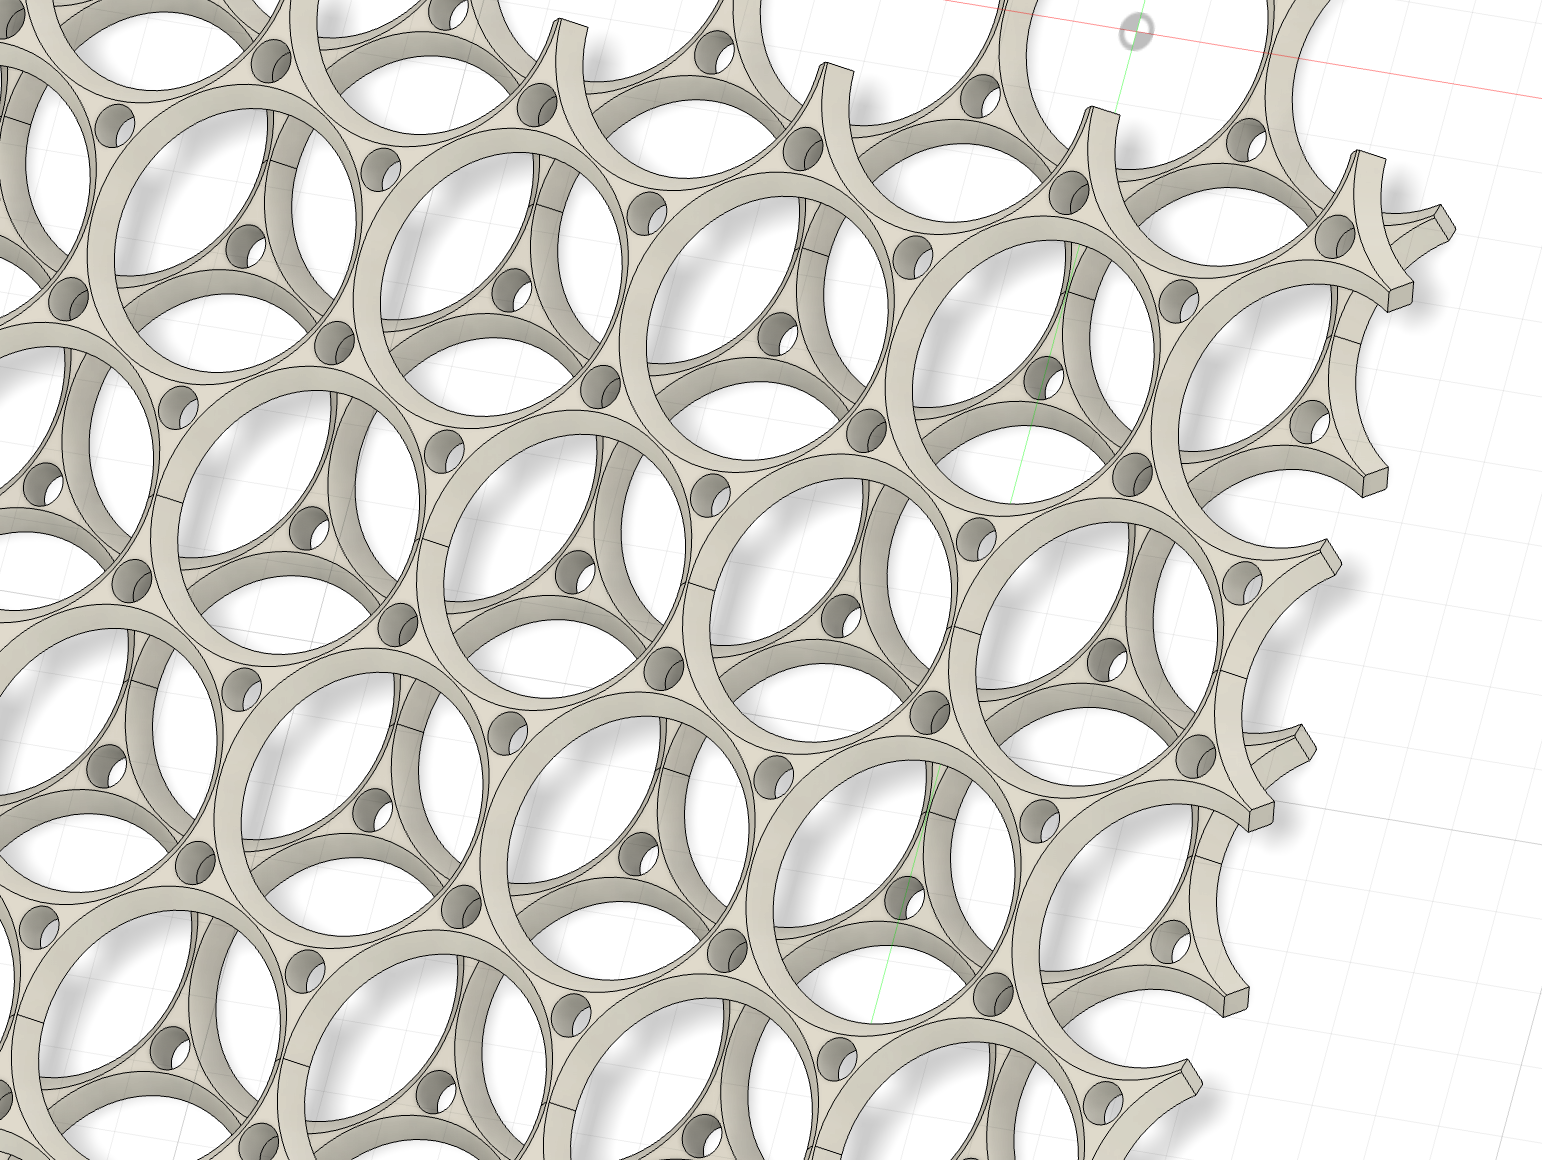
Large tapered attachment holes
The large round holes are for attaching heavier loads.
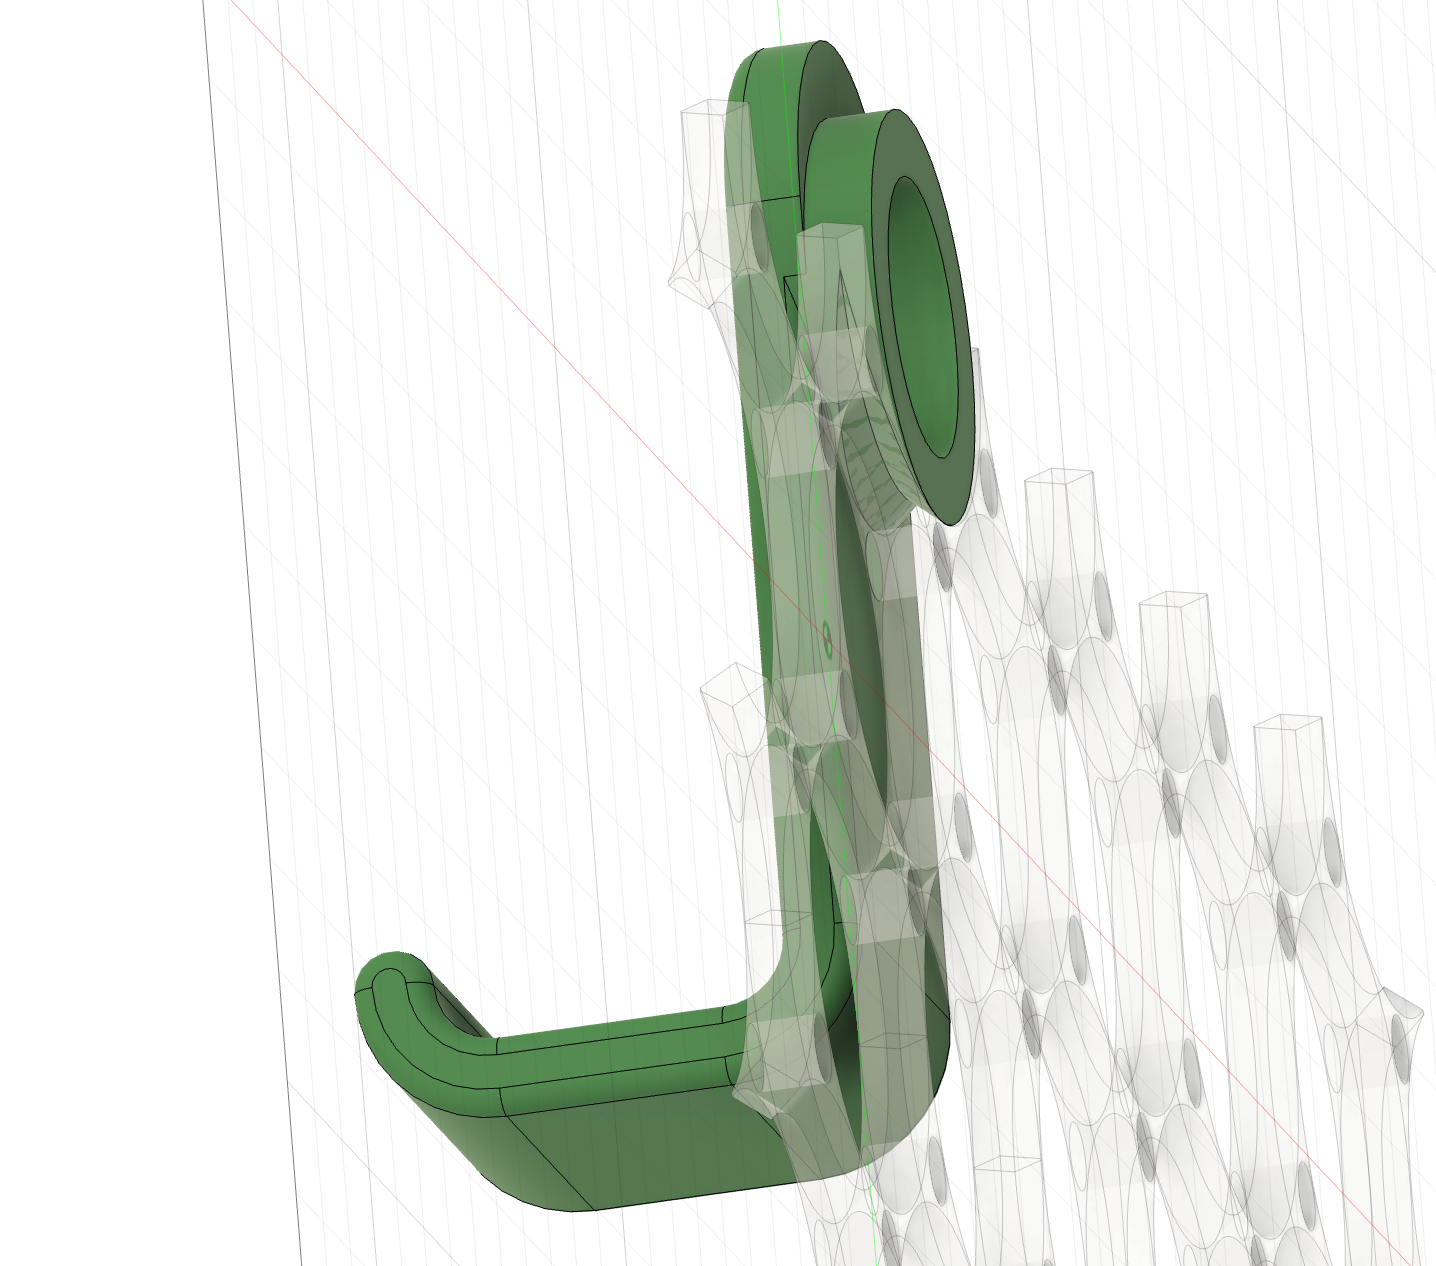
- Designed to hang the weight vertically on the “hook” part of the attachment (like french cleats)
- For large hooks, shelves, etc.
- Require locking the attachments vertically - otherwise the attachment will come off very easily. Note that the locking pin/screw just needs to prevent the attachment from rising vertically - it does not need to bear a lot of load.
- Note: Attachments designed for heavier loads should be located below the attachment point (the bracket below is NOT optimal from the load-bearing point-of-view)
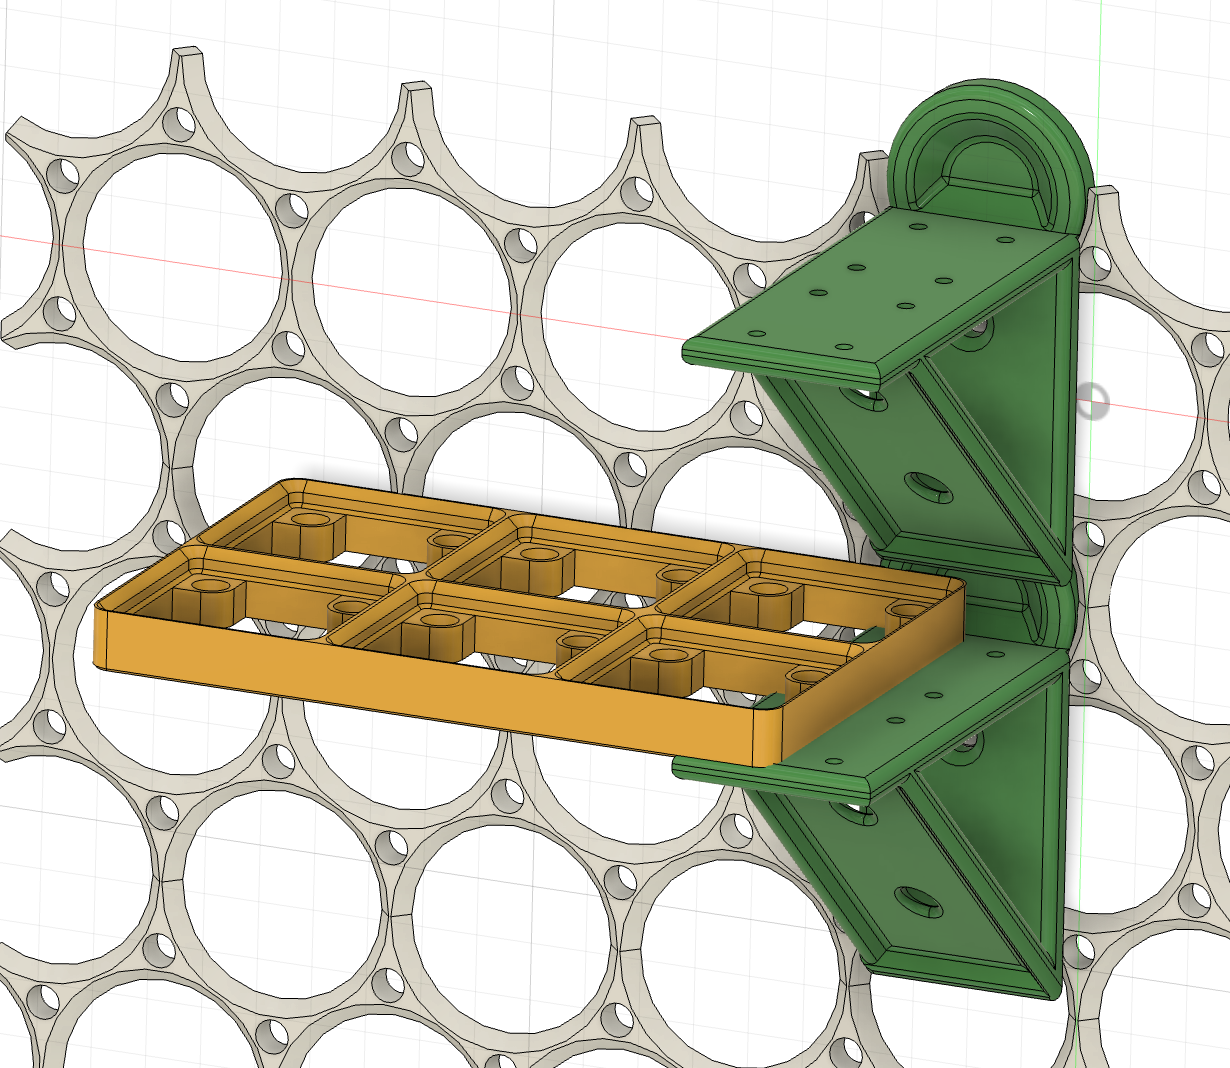
A locking pin (or screw) is required:
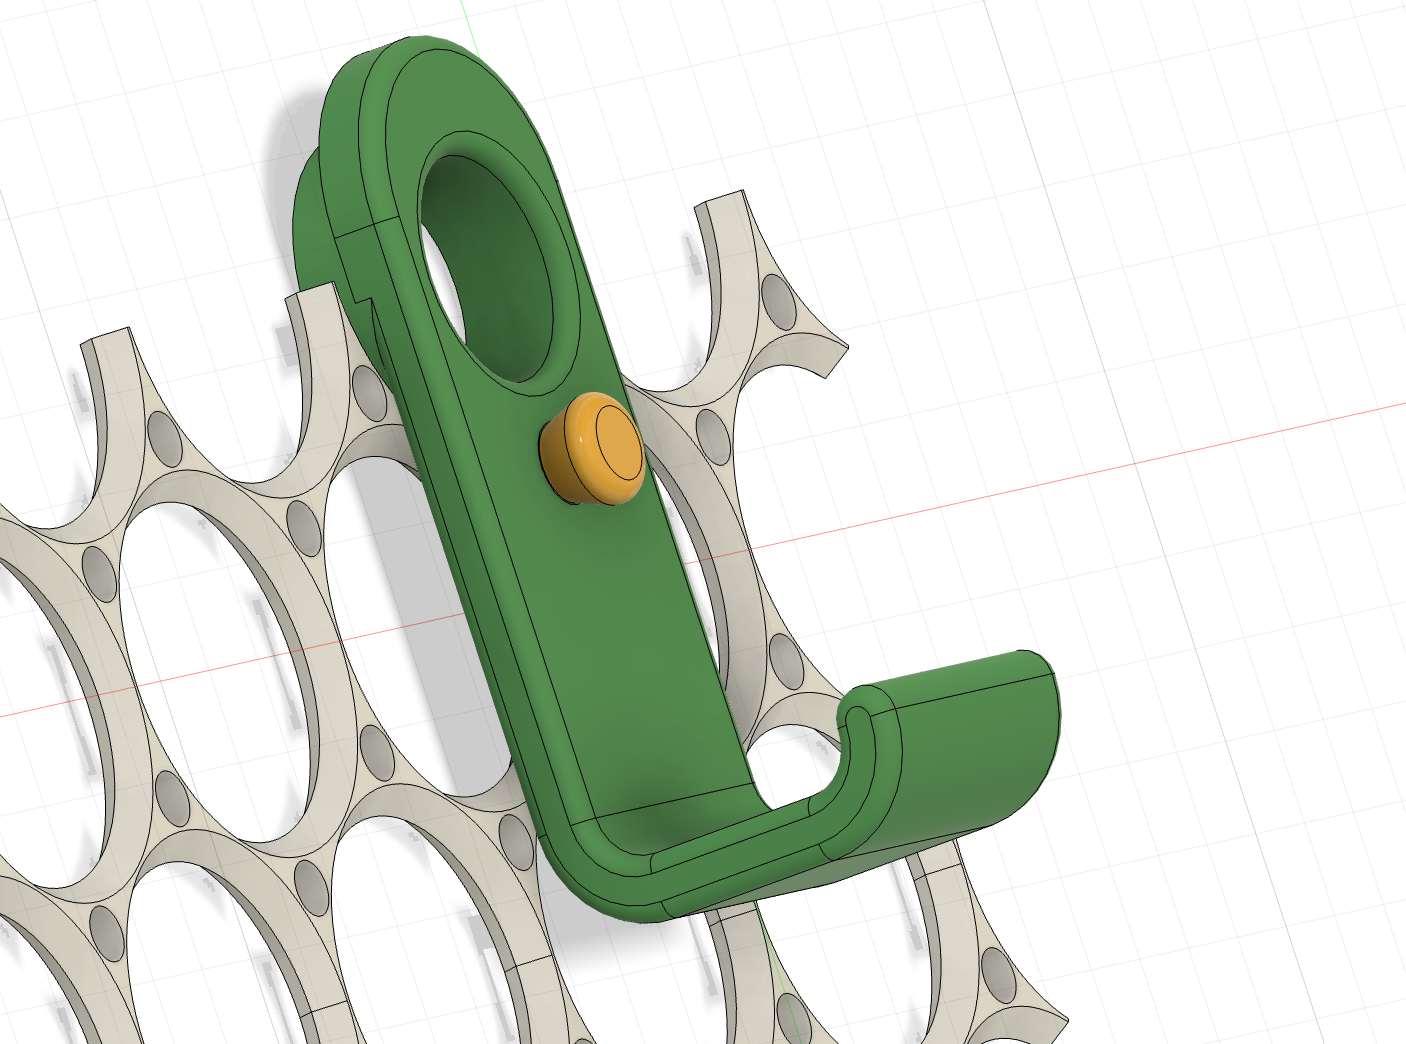
Small attachment holes
The small 6mm round holes are multi purpose:
- Attaching the board on the wall with screws
- Attaching board segments together by using a “star connector”
- Lightweight clip-on attachments, such as small hooks, that are not required to hold a lot of weight
- Locking large attachments vertically (see above) with a peg or a M6 screw
